VENOM04
Well-Known Member
Im sure alot of people know how to do this but even i was skeptical, so this was an experiment just to see how it would turn out. They would have turned out perfect but on the very last coat of Clear Coat i had to mix brands because i ran out of the one i was using so i used another one i had laying around and when i sprayed it on it like started to eat away at the other kind of clear so they still look really good just not as shinny as i would have liked them. Well enjoy.
First i didnt want to ruin my nice factory tail lights so i went on craigslist and got a set for $40 bucks over in Fresno from some dude that wrecked his car.
Then got some "VHT Night Shade" from Summit Racing, Some Clear Coat and some Meguires Clear Plastic Polish.

Then i got some water proof sand paper for wet sanding. I went with 1000, 1200, 1500 and 2000 grit.

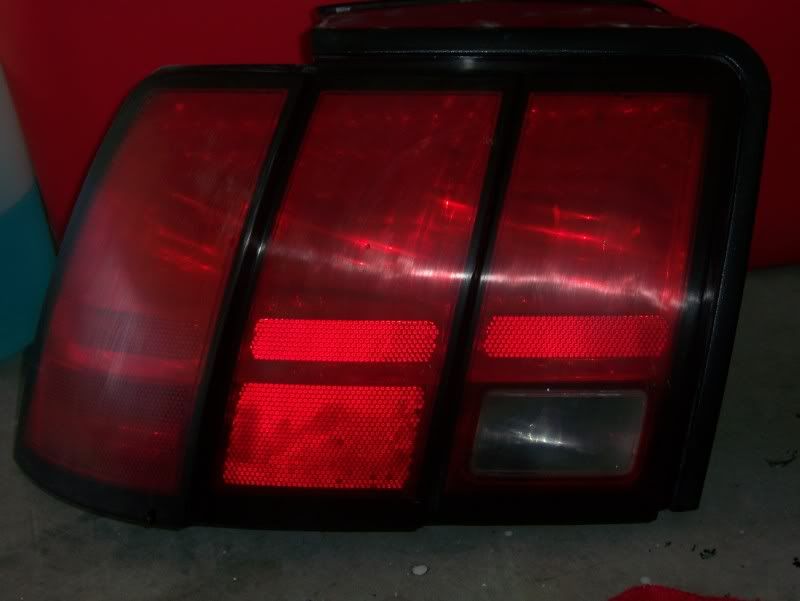
My next step was to clean the entire tail light assembly then wet sand using all grits of paper and here's how it ended up looking.
After you get both lights sanded you need to completely re-clean them and get all of the plastic residue off. I just used dish soap and hot water. Then let dry. After the drying you can apply the first coat of Night Shade. On the left is a light with one coat of Night Shade and on the Right is the one that is still just sanded.

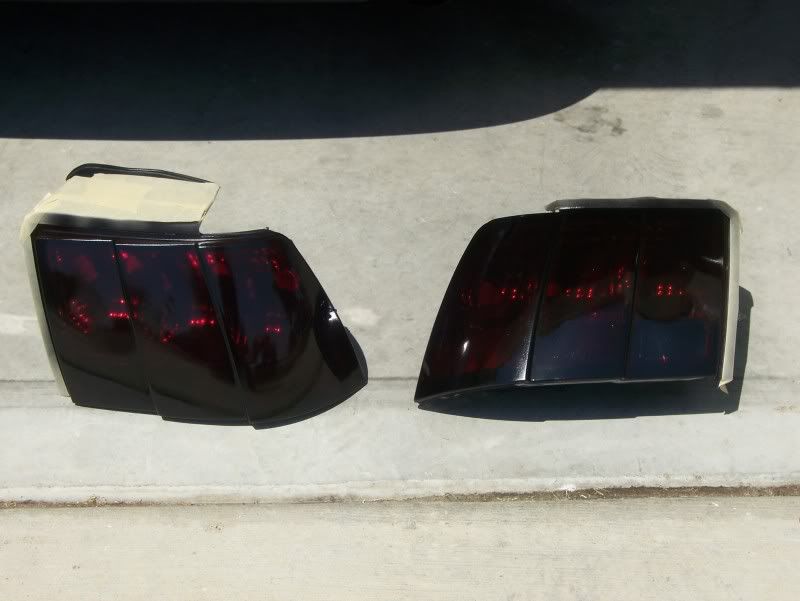
Here are the lights after two coats of the Night Shade and two coats of clear.
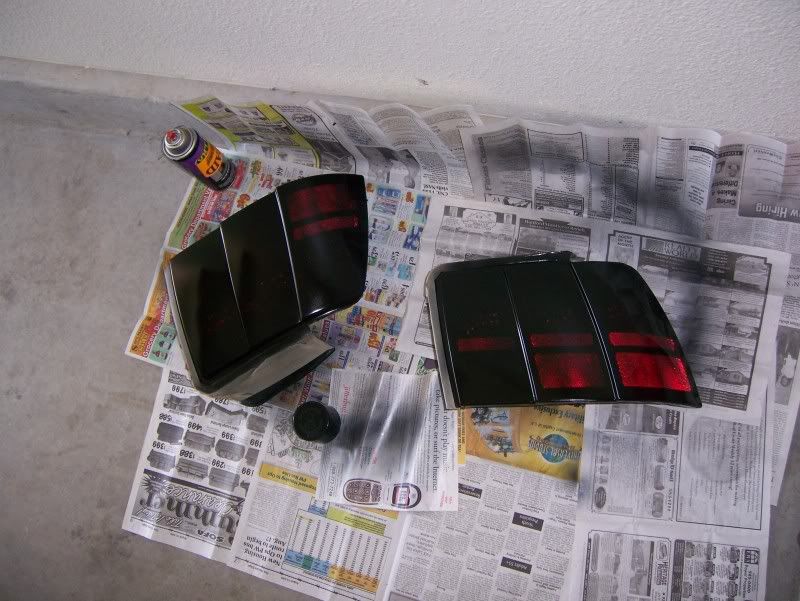
Now after they dried (once again i dont know what i am doing THIS IS AN EXPERIMENT) i decided to wet sand them again so i could get them even darker by applying more coats of Night Shade. So here is one of them after applying the two coats of Night Shade, two clear coats then wet sanding them again once again using all grits.

and here they are both together

After wet sanding them again i applied three more coats of Night Shade and two more clear coats of clear wanted three but ran out so i mixed brands and used another one i had laying around and sprayed them and it started to like eat the shine away but here is a pic of them before it started to eat at the shine.
After all that i used the Meguires Clear Plastic Polish and some Meguires tech wax to buff them out a bit.

Here are my original tail lights
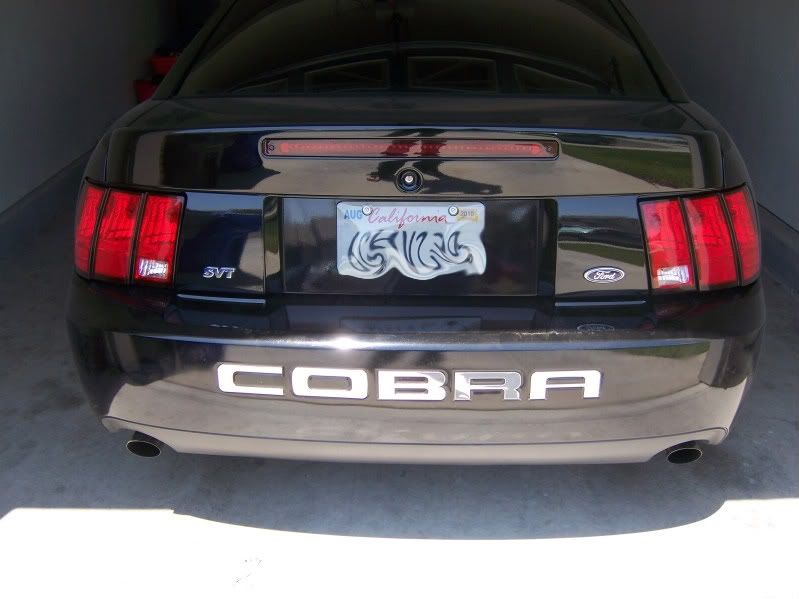
and here is the final product.


Hope you enjoy
VENOM
First i didnt want to ruin my nice factory tail lights so i went on craigslist and got a set for $40 bucks over in Fresno from some dude that wrecked his car.
Then got some "VHT Night Shade" from Summit Racing, Some Clear Coat and some Meguires Clear Plastic Polish.
Then i got some water proof sand paper for wet sanding. I went with 1000, 1200, 1500 and 2000 grit.
My next step was to clean the entire tail light assembly then wet sand using all grits of paper and here's how it ended up looking.
After you get both lights sanded you need to completely re-clean them and get all of the plastic residue off. I just used dish soap and hot water. Then let dry. After the drying you can apply the first coat of Night Shade. On the left is a light with one coat of Night Shade and on the Right is the one that is still just sanded.
Here are the lights after two coats of the Night Shade and two coats of clear.
Now after they dried (once again i dont know what i am doing THIS IS AN EXPERIMENT) i decided to wet sand them again so i could get them even darker by applying more coats of Night Shade. So here is one of them after applying the two coats of Night Shade, two clear coats then wet sanding them again once again using all grits.
and here they are both together
After wet sanding them again i applied three more coats of Night Shade and two more clear coats of clear wanted three but ran out so i mixed brands and used another one i had laying around and sprayed them and it started to like eat the shine away but here is a pic of them before it started to eat at the shine.
After all that i used the Meguires Clear Plastic Polish and some Meguires tech wax to buff them out a bit.
Here are my original tail lights
and here is the final product.
Hope you enjoy
VENOM
")