• Hello there guest and welcome to our forum!
    To gain full access you must Register. Registration is free and it takes only a few moments to complete.
    Already a member? Login here then!

WIKDLX Accufab 75mm R TB install

orange395w

OG MEMBER
Well I recommended a few parts to Emilio in order to bring out the best in his 347 combo. He was running the stock throttle body and C&L intake/meter. I know that 347 wants to breath, so the stocker is getting kicked to the curb for a beautiful piece that will likely wake up a monster. If it was my car I would chuck the intake too, but that's just me. :)
For now we will just port match the upper to throttle body.

Anyway here is a side by side comparison.
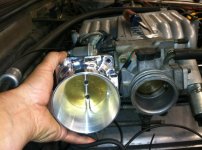
Accufab75mmRvsstock_zps788f9135.jpg

Pulled the throttle body

Emiliostboff_zpscaf7fd19.jpg

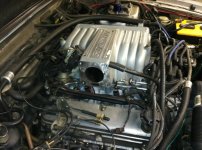
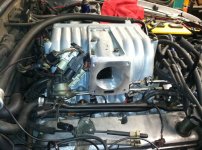
Pulled the upper intake

EmiliosUpperintoff_zps0e723316.jpg

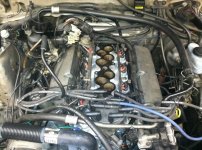
Covered ports

EmiliosUpperintoff2_zps2875bb65.jpg

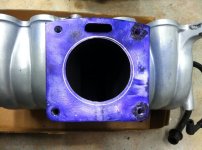
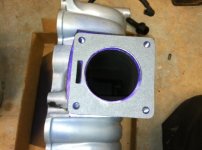
Once the upper was off painted the throttle body mating surface of the upper with machinist die. Then I put the gasket on and scribed my port lines.
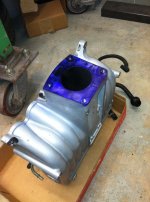
EmiliosUpperintmachinistdye_zps56fb7cb2.jpg

Emiliostbgasketfit_zps14d78b21.jpg

Emiliosupperscribed_zpsa5b92e31.jpg

The rough cut is just about done. I will come back in and smooth everything out and clean before assembly.
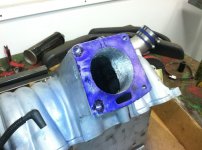
Emiliosuppertbmatchroughcut_zpsebc54060.jpg

Gasket is matched pretty good. Once everything is smoothed out it should clean up real nice.
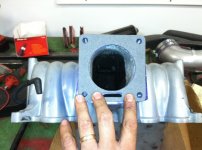
Emiliosuppertbgasketmatch_zps7fca72e3.jpg
 
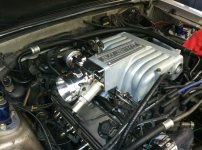
Did some more work on this car today. I cleaned up the port work on the tb inlet of the intake with 120 grit sanding cones. Then continually flushed the intake with purple power, carb cleaner and a garden hose. After about 45 minutes the intake was finally cleaned and installed.

Intakeisdone_zpsf73a0494.jpg

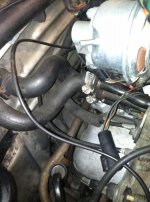
After that I started to install the throttle body and spacer. Yesterday Emilio mentioned that the throttle was stiff and while hooking everything back up I realized that the throttle cable was binding because of the way it was routed. Instead of running along the top of the firewall it was stuffed down low and pushing against the firewall. I rerouted it and it seems to be a lot better now.

before
throttlecablewasbinding_zps64744491.jpg

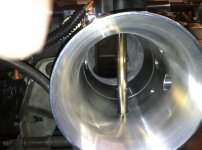
A shot through the TB to the intake.

portmatched_zps613646c3.jpg

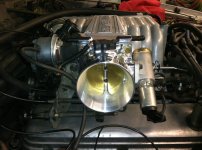
tbinstalled1_zps283d7ca9.jpg

tbinstalled2_zpsfcfebf8d.jpg

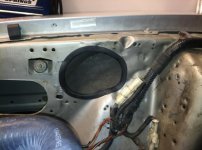
Now it was time to install the powerpipe. I knew I would have to enlarge the hole in the fenderwell, but I also had to modify the rubber elbow in order to get the pipe to fit since he has a 2" TB spacer and not the 3/8" one.

Enlarged hole with protective rubber seal installed.

enlargedinnerfenderhole_zpse2564cfb.jpg

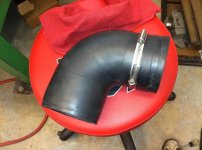
I used the hose clamps as my guide to cut the rubber elbow down. Before trimming it was hitting the strut tower.

andersonrubberelbow1_zpsfae6fdd5.jpg

After being trimmed


andersonrubberelbow2_zpsf6356e3d.jpg

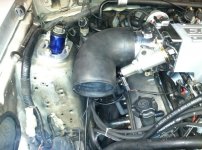
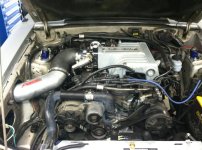
Powerpipe and TB installed

AFMPowerpipeandTBinstalled_zpsae0459df.jpg
 
Back
Top