• Hello there guest and welcome to our forum!
    To gain full access you must Register. Registration is free and it takes only a few moments to complete.
    Already a member? Login here then!

AC Delete Kit

Mustangcwo

Crew Chief
Staff member
Board Member
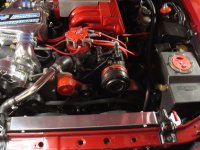
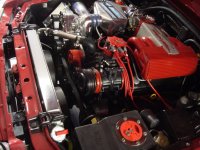
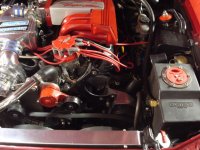
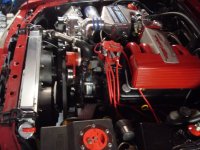
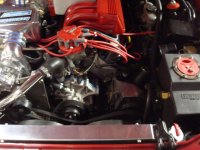
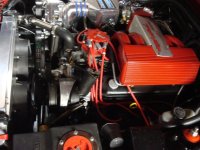
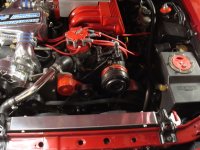
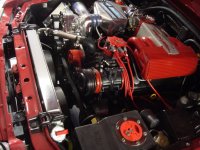
Most of the Air Conditioning has been removed from the car, so I decided to remove the compressor and relocate the hydraulic steering pump in my 1987 GT. Here are some current pictures:

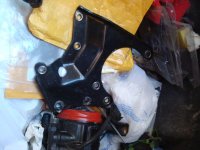
Ford Racing Air Conditioning delete kit:
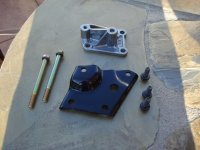
AC004.jpg

Compressor in place:
AC001.jpg
AC002.jpg
 
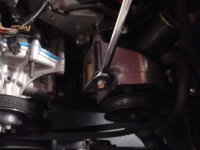
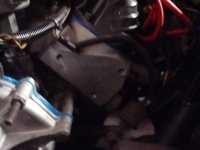
First, remove the serpentine belt and unplug the air compressor. Next, remove the compressor by taking out the five mounting bolts (three in the front and two on the rear base). Creates a nice big hole and removes a big chunk of weight from the front of the car.

Compressor removed:
AC005.jpg
AC006.jpg
 
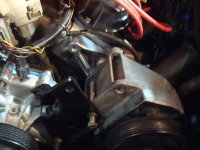
Now it's time to remove another hunk of metal known as, "the ac mounting bracket". Just remove all the bolts off the front and it slides out to the front. This will not affect the water pump, but will loosen up the power steering pump; no worries, that's getting relocated anyways. The front is opening up nicely now.

Junk in the trash:
AC008.jpg

Open up baby!!!!
AC007.jpg
 
Nice I want to take mine out too. I been thinking about it for a while now. I never use it unless kids with me and I plan on doing a
cage and rear seat delete
 
Now it's time to remove the remaining stud from the head. I double nutted the stud, tightened the two nuts against one another and used the inside nut to remove the stud. This technique is best for removing studs:

AC010-1.jpg

Now all that remained was to remove the AC rear mounting bracket and then a nice clean head appeared to start the install:

AC011.jpg
AC012.jpg
 
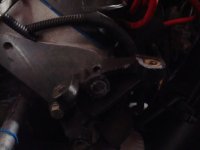
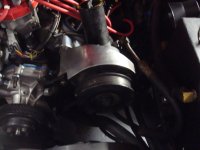
Mounting the new hardware is very routine and not complicated at all. The three bolt holes on the mounting bracket line up perfectly with the head. I coated the end of the bolts with Tef-Gel (much better then anti-seize) and tightened them in place. Next I put the face plate on the water pump screws and tightened the mounting nuts about half-way onto the water pump studs. Once the plate was in place, I inserted the lower pump mounting bolt through the plate, through the steering pump and threaded it into the mounting bracket.

AC014.jpg

Rolling the steering pump up into place had one small difficulty. The metal line from the pump would not clear the pump cover plate; so I bent the line, by hand, just far enough to get some clearance. Finally, I rolled the pump into place and inserted the final bolt into the upper mounting holes. There she is, ready for some polishing and then a new shorter belt.

AC015.jpg

New VS.
AC016.jpg
AC009.jpg

Old
AC001.jpg
AC002.jpg
 
Well, the car is down for another week. The link arm on the alternator is bending under serpentine belt tension and will not work under the current configuration. I will have to pull the bracket, have one manufactured with a little more beef and then reinstall.
 
Well, the car is down for another week. The link arm on the alternator is bending under serpentine belt tension and will not work under the current configuration. I will have to pull the bracket, have one manufactured with a little more beef and then reinstall.

check these guys out might be an idea..


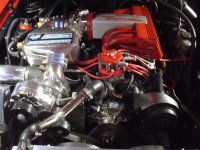
The vortech relocated the alternator with a custom bracket. I have to verify everything is tight and if so, have Carlson Beauloy machine a new bracket for me.
 
Back
Top